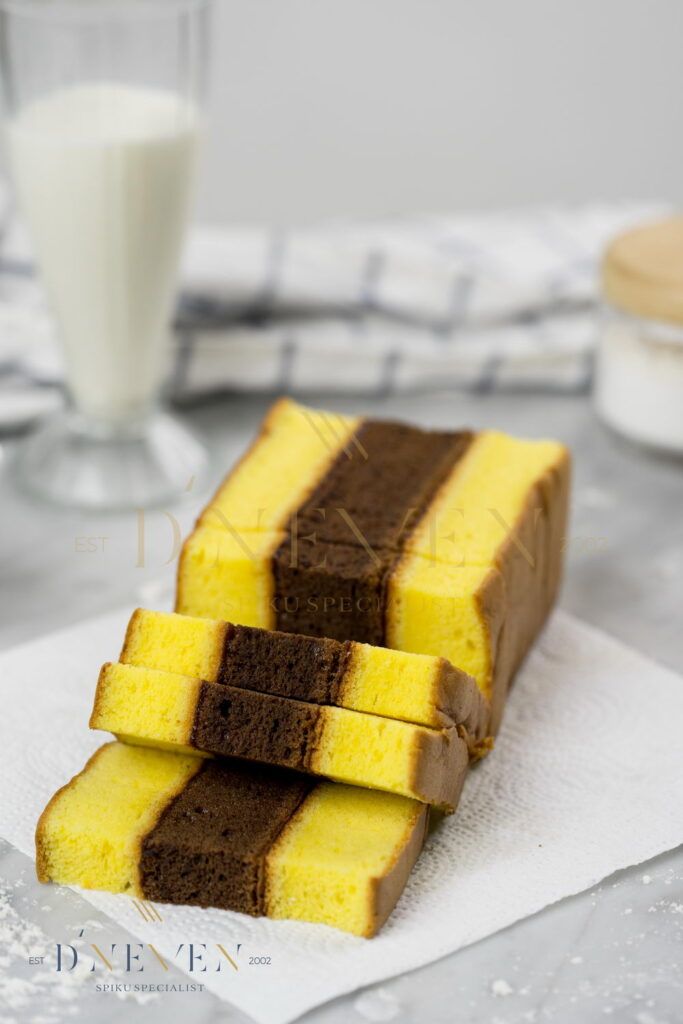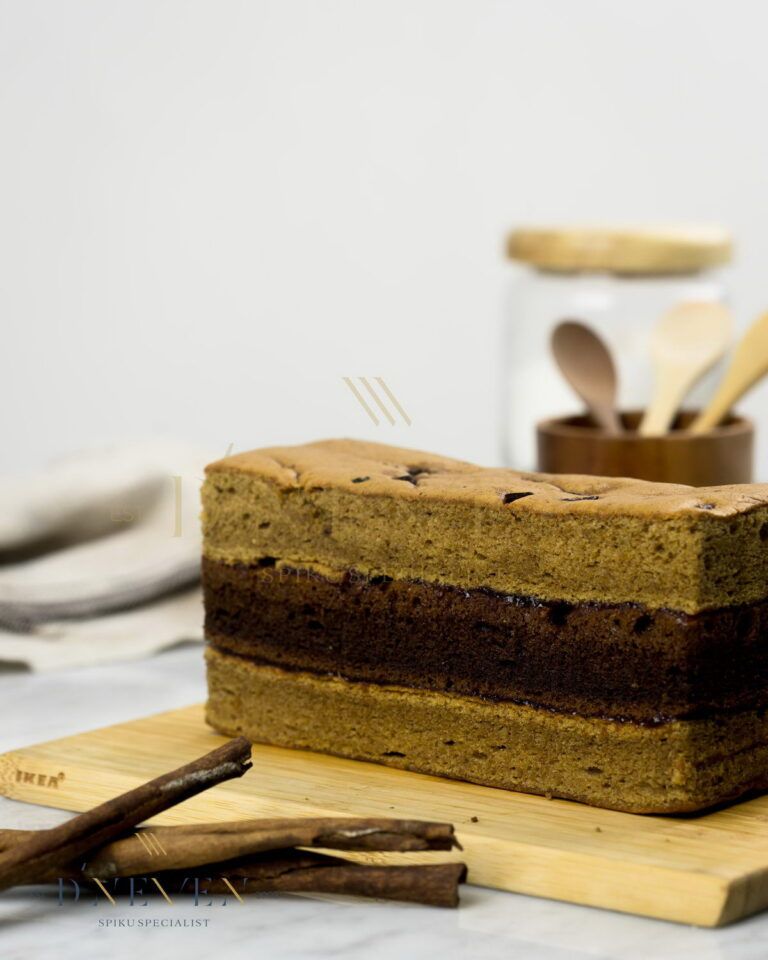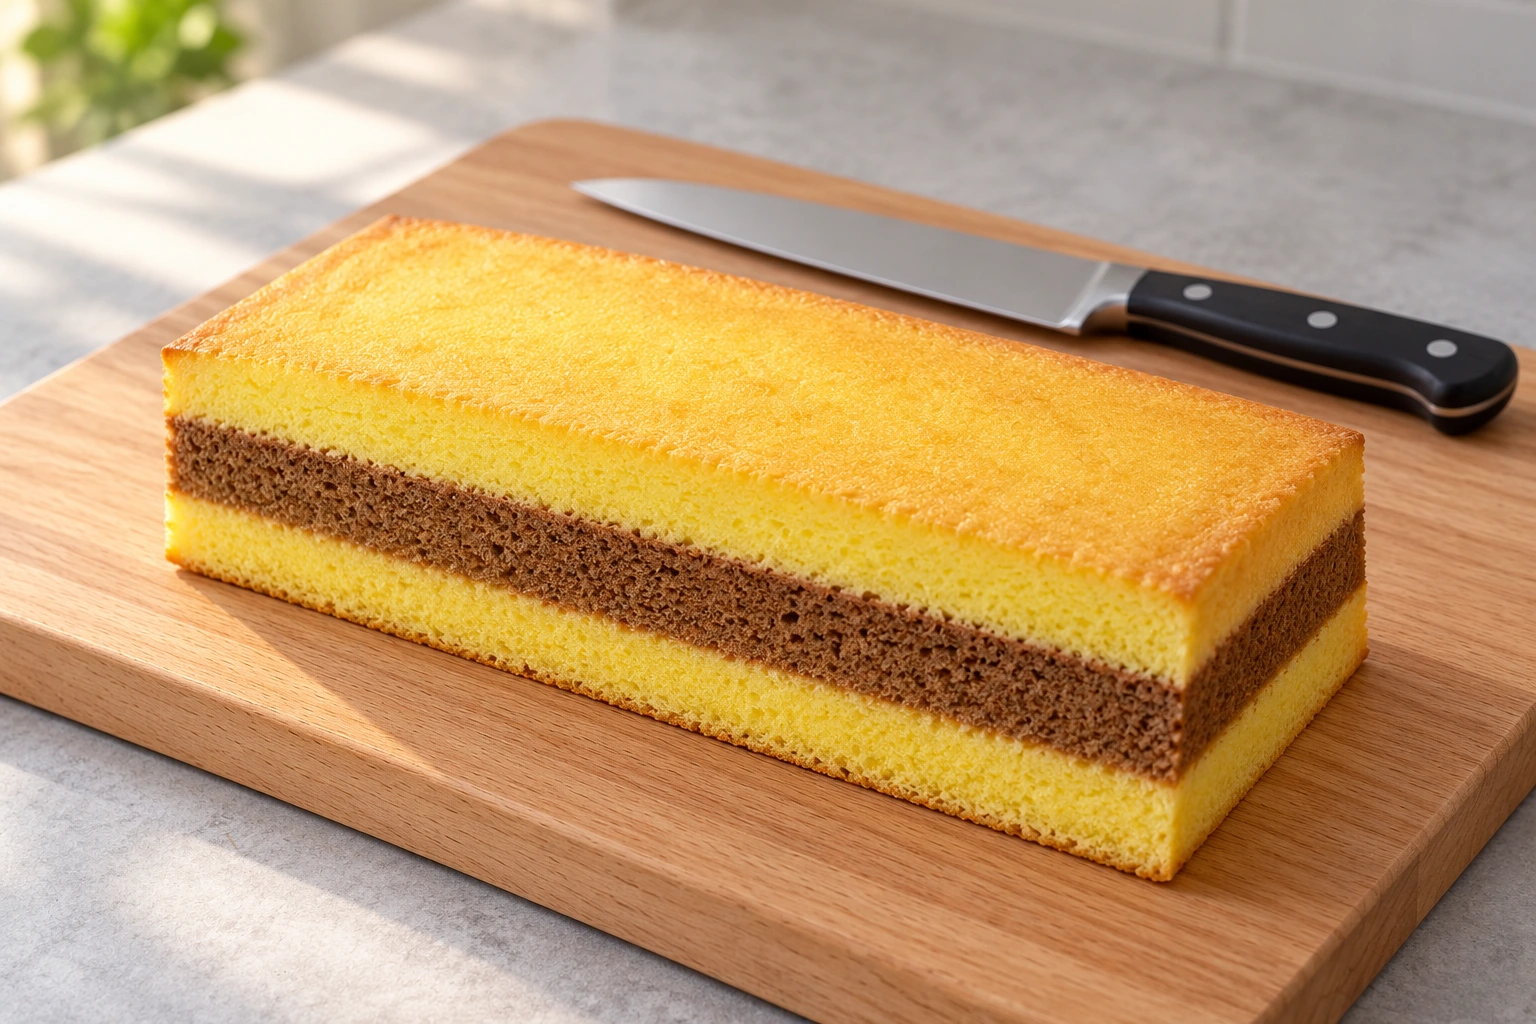
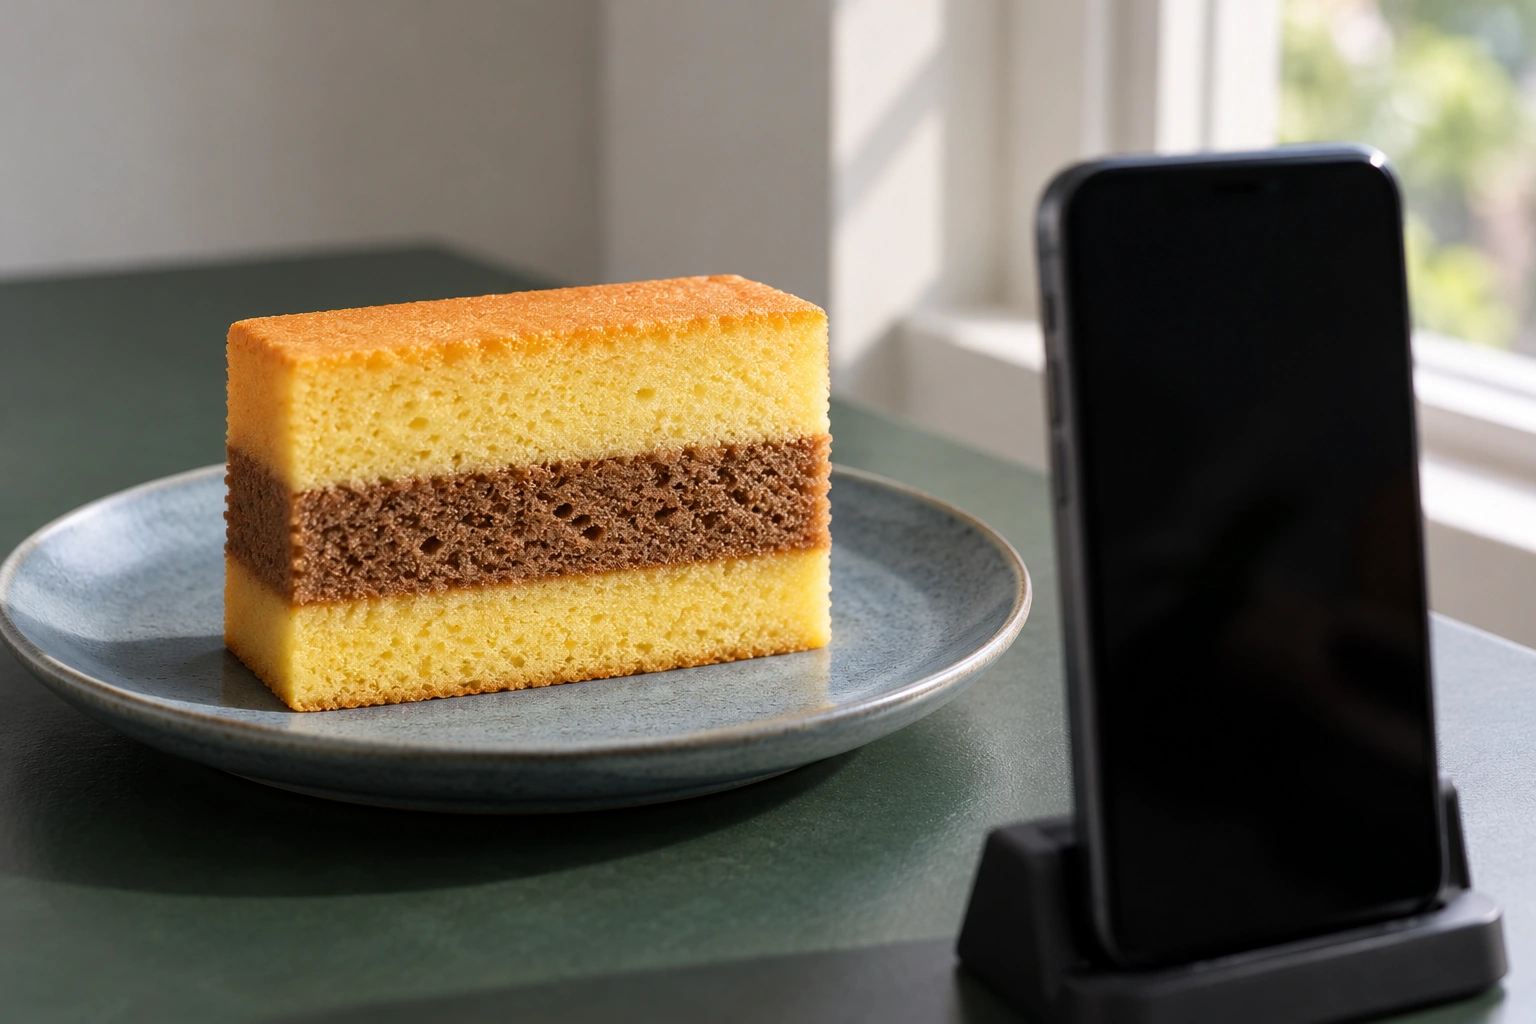
A phone photograph of spiku is easier to understand when the lighting and camera angle reveal the cut face. An overhead view can show the cake’s shape while hiding the layers you want to describe. Start by deciding what the picture should communicate: the layer arrangement, a serving moment or a clear product enquiry.
There is no need to begin with a large collection of props. A neat slice, a simple support and controllable light provide a more useful starting point than a crowded table. For Dneven’s Classic Original, the light and cocoa-coloured layers are an important visual feature to preserve rather than transform with a strong colour filter.
Prepare the slice and a quiet background
Choose a clean cut face and place the slice on a stable surface. Remove distracting loose crumbs while keeping the cake’s actual texture. Avoid adding a substance merely to make the surface shine if the result no longer represents the serving being photographed.
Use a plate or board whose colour does not compete with the layers. Check the background immediately behind the cake: a chair handle or packaging edge can appear to run through the slice. Moving the support slightly is often more effective than trying to remove several objects afterwards.
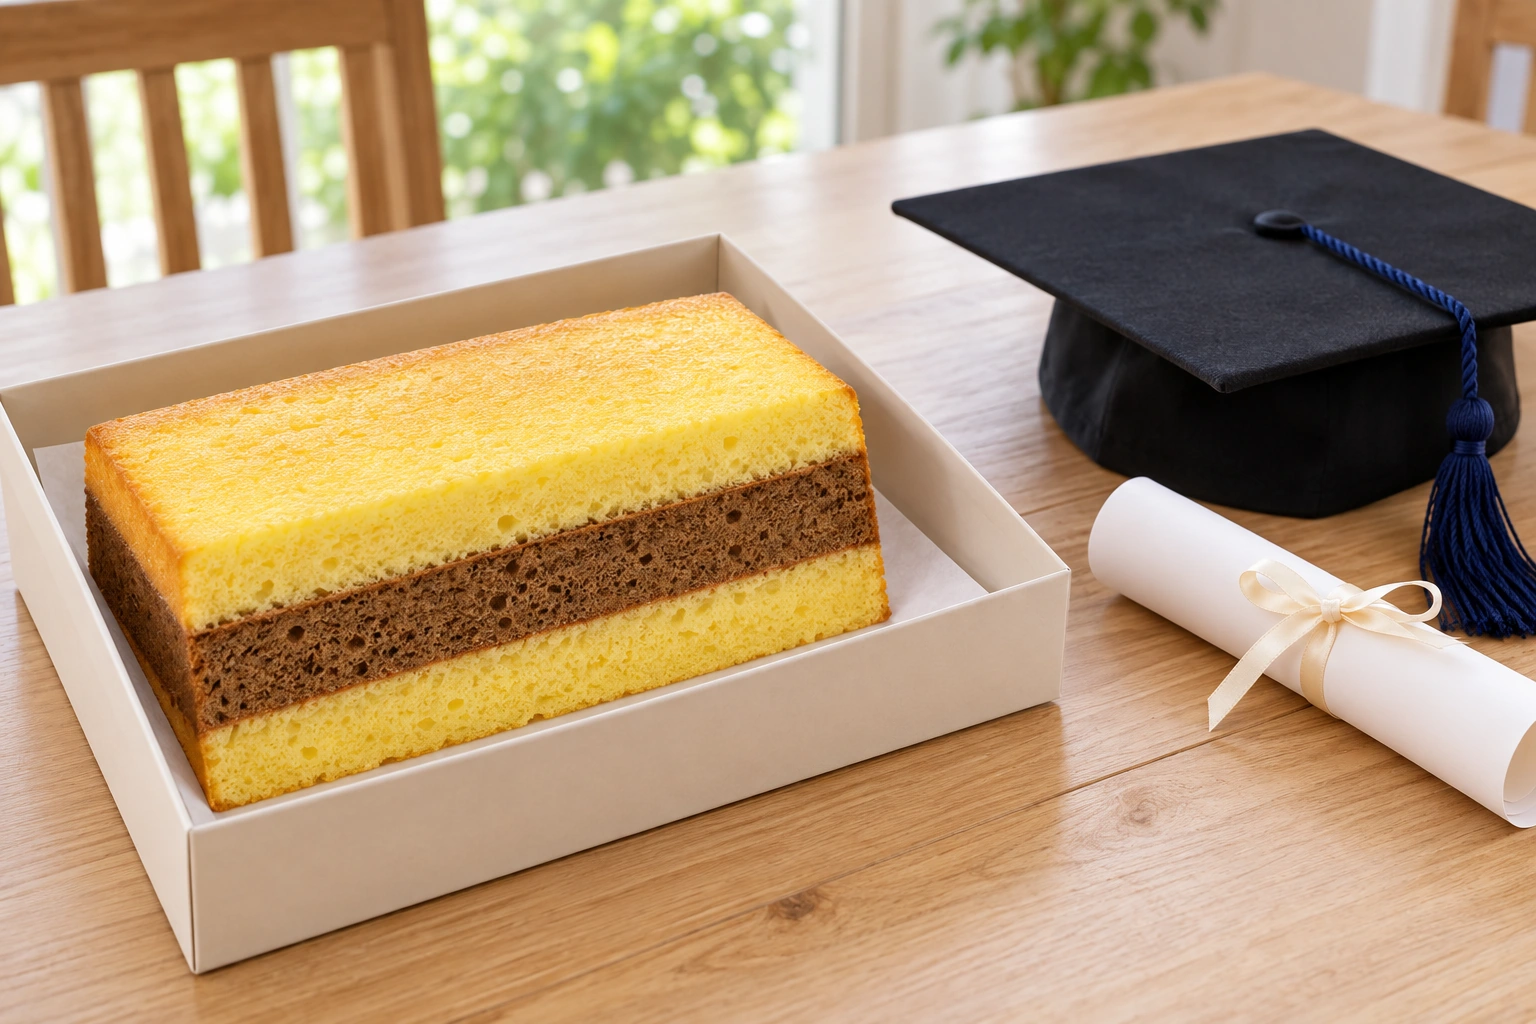
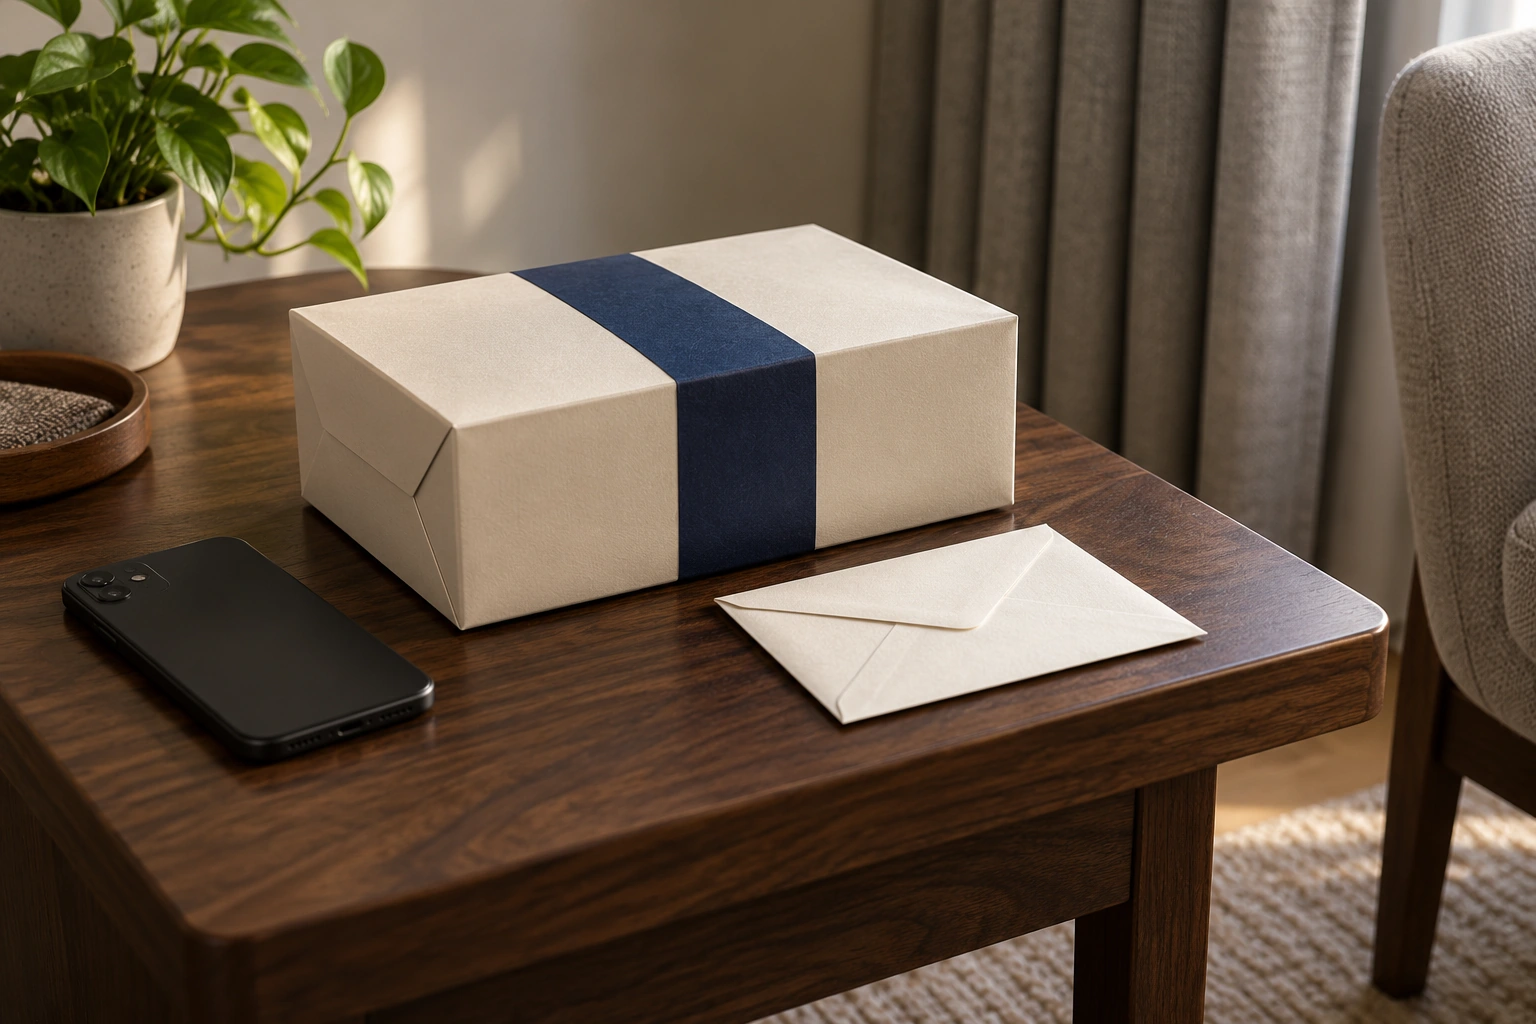
If packaging belongs in the picture, give it a purpose. It can establish a gift context or product identity, but it should not cover the cut face. Take a complete view before moving into details so you retain information about the shape and setting of the serving.
Move the cake in relation to the light
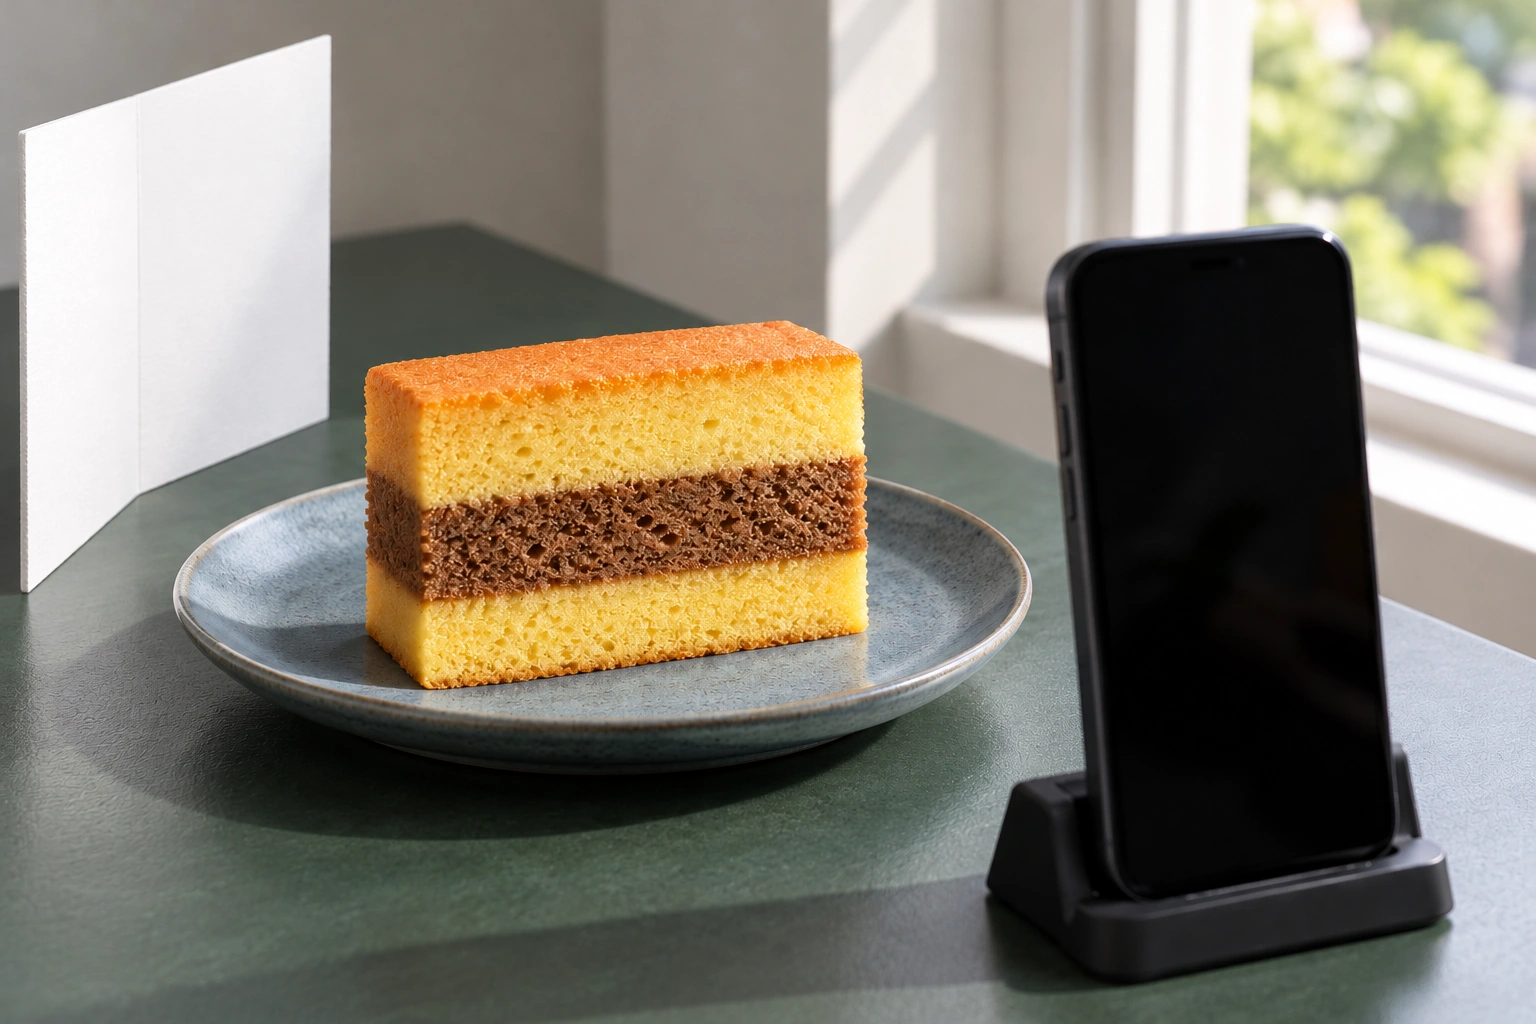
Begin beside a window with soft light. Position the cake so the light arrives from the side, then look for separation between the layers and visible crumb texture. If direct sun removes detail from the highlights, change position or use an appropriate light curtain to soften it.
Observe the side facing away from the window. If it becomes too dark, place a white card opposite the light to reflect some brightness back. Adjust its distance gradually. The aim is not to remove every shadow, but to retain form without losing the information in the layers.
Adobe Lightroom Academy’s window-light lesson demonstrates side light for food. Change one thing at a time so you can tell whether the difference comes from cake position, light direction or the camera settings.
Lower the camera to show the layers
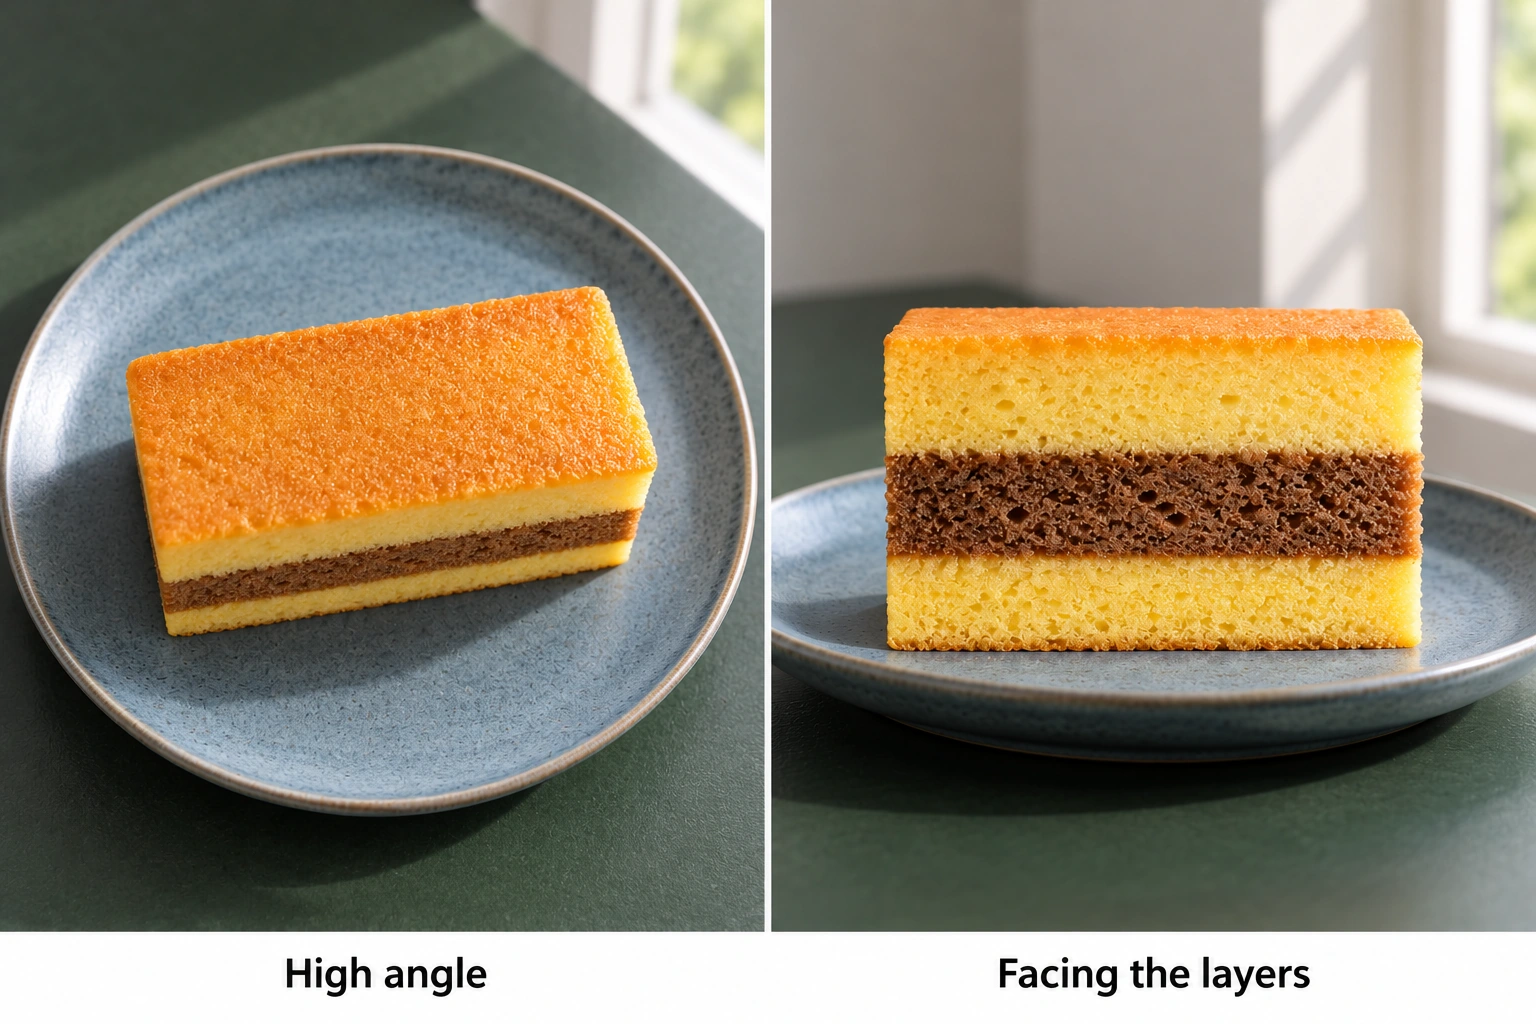
Point the camera towards the cut face. A lower viewpoint can show the height and layer sequence, while a slightly elevated angle also reveals the top. Compare those views before moving the slice itself.
Keep enough distance to avoid making the nearest part appear unnaturally wide. If needed, adjust the camera position and crop the frame later. Heavy digital enlargement is a poor substitute for choosing a suitable shooting distance in the first place.
Leave some space around the slice. A very tight frame can cut away a corner or make the shape difficult to understand. If you want to share the photograph in different formats, capture a slightly wider composition so a useful vertical or horizontal version remains available.
Focus attention on the important surface
Tap the layer face you want sharp, then inspect the result at a larger viewing size. A shot that looks focused on the small preview may actually be sharpest on the plate rim. Use a phone support or steady your hands so the composition does not change on every attempt.
Where the phone offers brightness adjustment, change it gently while watching the lightest cake surface. The light layer should retain texture, and the cocoa layer should remain distinguishable from shadow. The background does not need to be as bright as the subject.
Check portrait mode too. Simulated background separation can cut into a cake corner or distort the edge of a plate. Compare it with the ordinary photo mode before selecting the final image. A naturally clear cut face is more useful than an effect that damages the outline.
Watch for mixed lighting. A very warm room lamp and a differently coloured window can make opposite sides of the spiku appear inconsistent. Try one main light source first and compare the cake colour with what you see directly. If brightness changes with every reframing, use focus or exposure locking where the device supports it. Keep a few trials with identifiable changes, such as a lower camera or a closer white card, so the final choice follows an understandable comparison.
Select the picture that explains the serving
Return to the original purpose when comparing photographs. If the aim is to show layers, choose the image that makes their boundaries easy to read, even if another shot has a more elaborate background. Adobe’s food-photography guide also connects lighting, composition and attention to the subject.
Edit enough to improve framing and brightness. Avoid colour changes that suggest a different flavour or product character. Keep the original file so you can crop it again without relying on a repeatedly compressed copy.
If you use the photograph to contact Dneven, include the variant name where known and a specific question. Follow the reference-photo guide when combining a complete view with a detail. Your picture can then support a useful conversation as well as being enjoyable to look at.